REJECTION
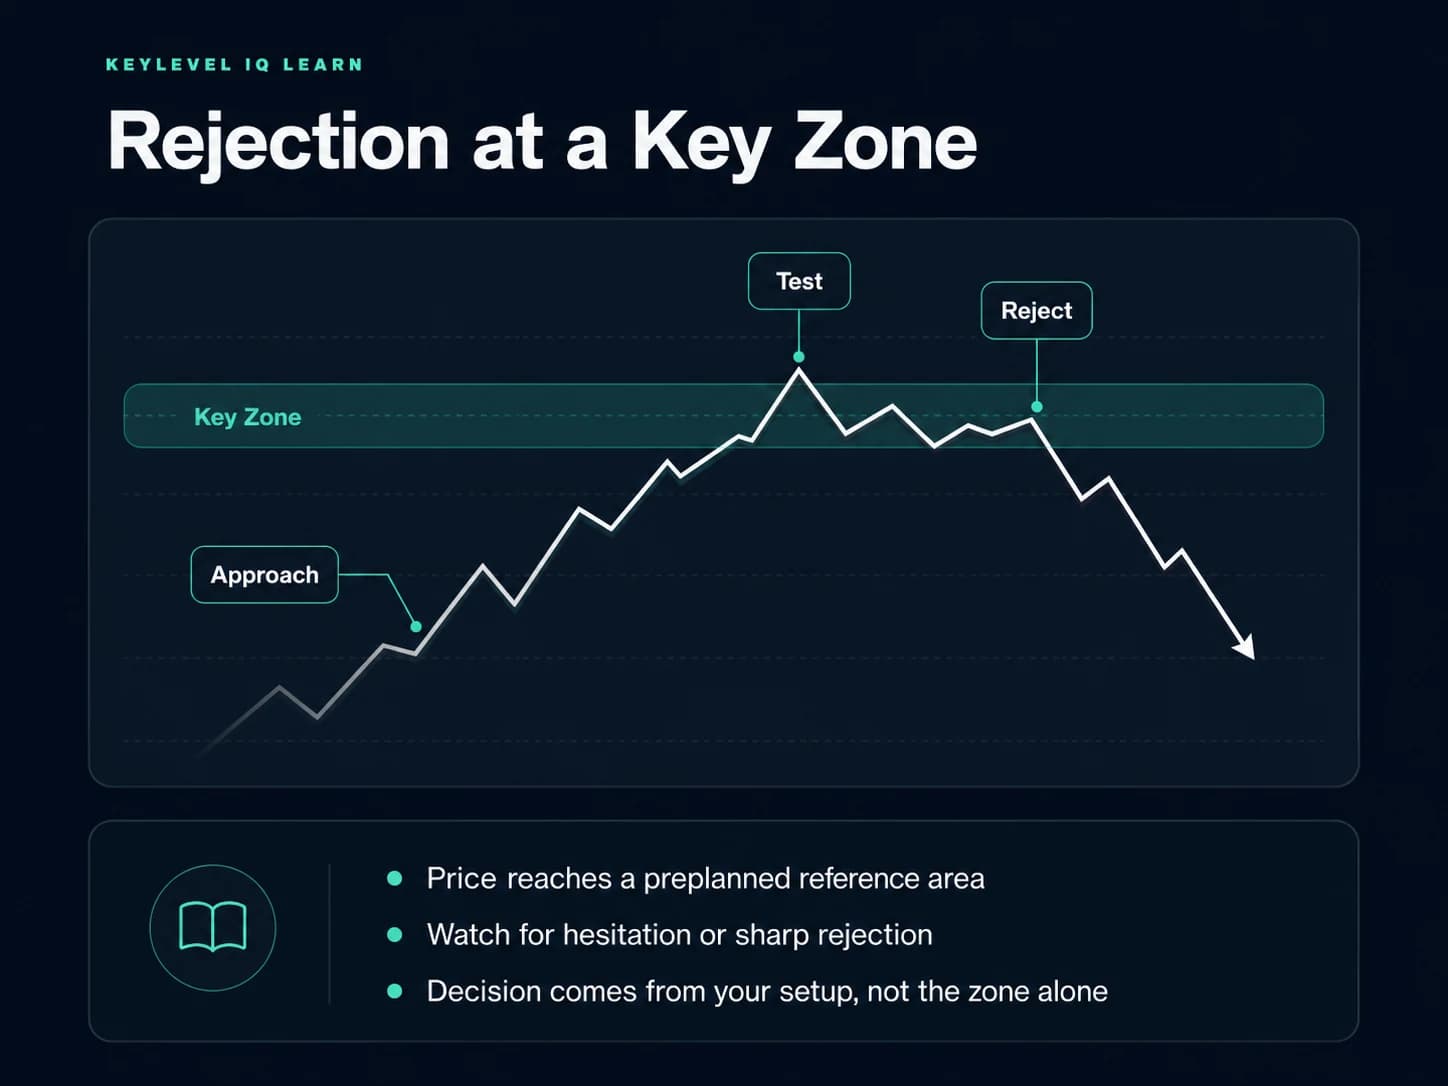
Price tests the area and moves away.
A rejection can be quick or develop over several rotations. The important observation is that price fails to establish sustained trade through the area and instead moves away from it.
The same published zone can behave very differently from one session to another. The response matters more than the label alone.
A rejection can be quick or develop over several rotations. The important observation is that price fails to establish sustained trade through the area and instead moves away from it.
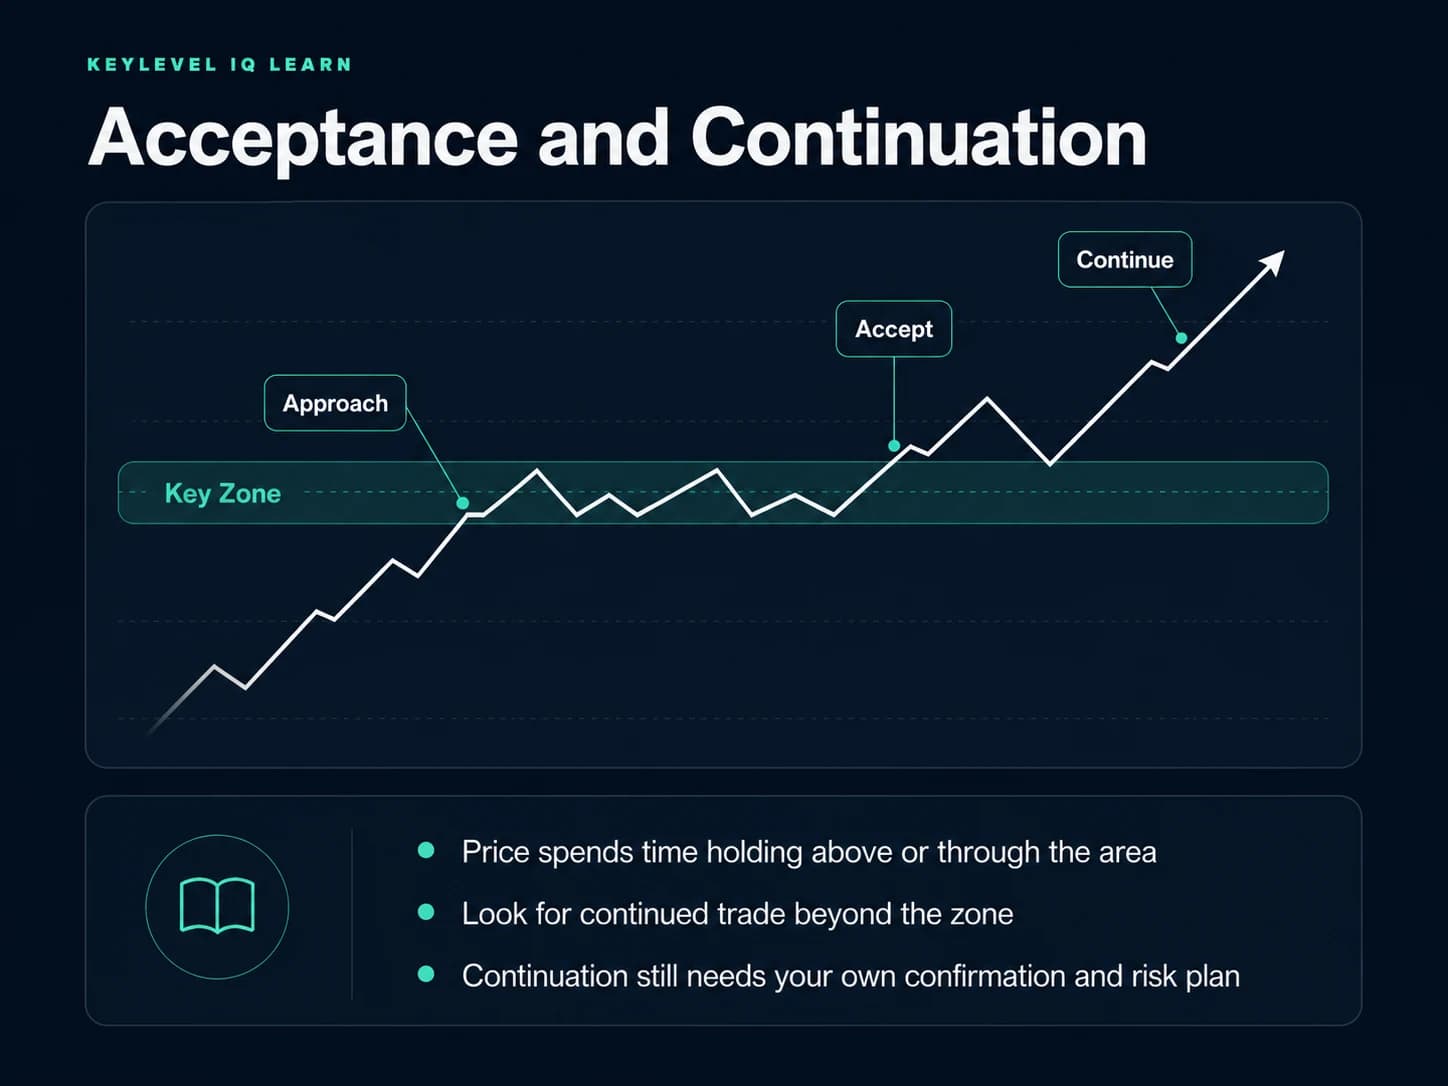
Acceptance suggests the zone is not currently producing a clean rejection. Traders may shift attention from fading the area to what happens beyond it or on a later retest.
Imagine price approaches an upper zone from below. Instead of entering automatically, a trader could wait to see whether price enters the area, fails to hold through it, and begins moving back away. That behavior may fit a rejection-based setup if the trader's independent confirmation and risk rules also align.
If price moves through the same upper zone and begins holding above it, repeatedly trying to fade the zone may conflict with the observed behavior. Acceptance can shift attention toward continued trade beyond the area while the trader still applies an independent setup, confirmation process, and risk plan.
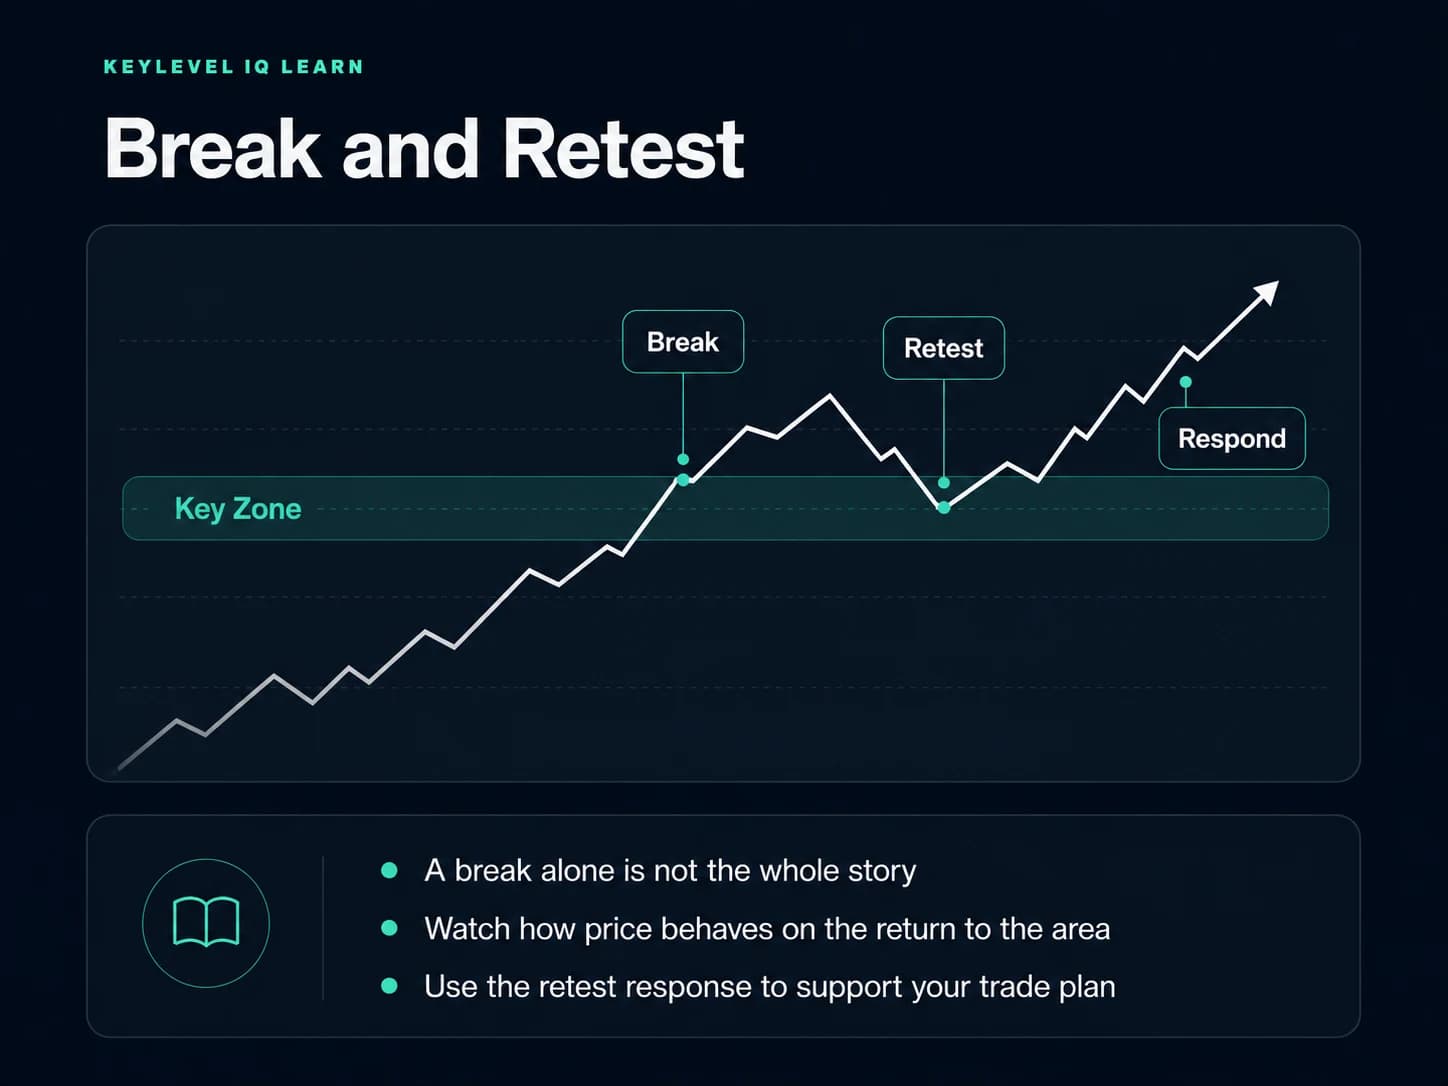
A break through a zone does not have to be the end of the observation. Price may return to the area later. Traders can watch how that retest behaves rather than assuming the first break alone determines what happens next.
Sometimes price crosses a zone so quickly that there is little useful interaction. That can itself be information: the market did not show much hesitation at that area. Chasing the move is not required; the next published zone can simply become the next area to monitor.
Repeated back-and-forth movement can make it difficult to classify the response. Instead of forcing a rejection or breakout narrative, traders can wait for clearer acceptance away from the area or move on to another setup.
KeyLevel IQ provides general market-reference information and does not provide personalized financial or investment advice. Market reactions are not guaranteed. Trading involves substantial risk and losses are possible.
KeyLevel IQ content is licensed to one named subscriber only. Redistribution, account sharing, forwarding, reposting, copying, screen-sharing, or providing the content to any third party is prohibited. Protected pages may contain customer-specific visible and technical identifiers used for security and enforcement.